
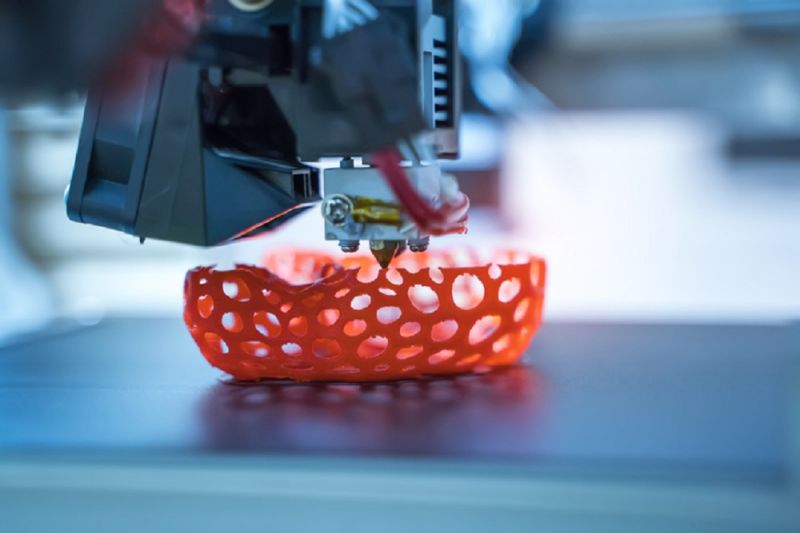

While most of the manufacturing work is done inside the 3D printer as parts are built layer by layer, that’s not the end of the process. Post-processing is an important step in the 3D printing workflow that turns printed components into finished products. That is, “post-processing” itself is not a specific process, but rather a category consisting of many different processing techniques and techniques that can be applied and combined to meet different aesthetic and functional requirements.
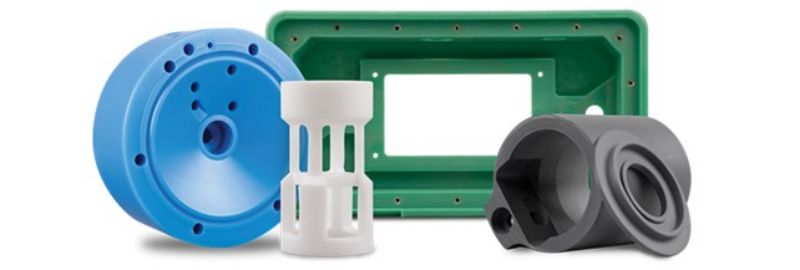
As we will see in more detail in this article, there are many post-processing and surface finishing techniques, including basic post-processing (such as support removal), surface smoothing (physical and chemical), and color processing. Understanding the different processes you can use in 3D printing will allow you to meet product specifications and requirements, whether your goal is to achieve uniform surface quality, specific aesthetics, or increased productivity. Let’s take a closer look.
Basic post-processing typically refers to the initial steps after removing and cleaning the 3D printed part from the assembly shell, including support removal and basic surface smoothing (in preparation for more thorough smoothing techniques).
Many 3D printing processes, including fused deposition modeling (FDM), stereolithography (SLA), direct metal laser sintering (DMLS), and carbon digital light synthesis (DLS), require the use of support structures to create protrusions, bridges, and fragile structures. . peculiarity. Although these structures are useful in the printing process, they must be removed before finishing techniques can be applied.
Removing the support can be done in several different ways, but the most common process today involves manual work, such as cutting, to remove the support. When using water-soluble substrates, the support structure can be removed by immersing the printed object in water. There are also specialized solutions for automated part removal, particularly metal additive manufacturing, which uses tools such as CNC machines and robots to accurately cut supports and maintain tolerances.
Another basic post-processing method is sandblasting. The process involves spraying printed parts with particles under high pressure. The impact of the spray material on the print surface creates a smoother, more uniform texture.
Sandblasting is often the first step in smoothing a 3D printed surface as it effectively removes residual material and creates a more uniform surface that is then ready for subsequent steps such as polishing, painting or staining. It is important to note that sandblasting does not produce a shiny or glossy finish.
Beyond basic sandblasting, there are other post-processing techniques that can be used to improve the smoothness and other surface properties of printed components, such as a matte or glossy appearance. In some cases, finishing techniques can be used to achieve smoothness when using different building materials and printing processes. However, in other cases, surface smoothing is only suitable for certain types of media or prints. Part geometry and print material are the two most important factors when choosing one of the following surface smoothing methods (all available in Xometry Instant Pricing).
This post-processing method is similar to conventional media sandblasting in that it involves applying particles to the print under high pressure. However, there is an important difference: sandblasting does not use any particles (such as sand), but uses spherical glass beads as a medium to sandblast the print at high speeds.
The impact of round glass beads on the surface of the print creates a smoother and more uniform surface effect. In addition to the aesthetic benefits of sandblasting, the smoothing process increases the mechanical strength of the part without affecting its size. This is because the spherical shape of glass beads can have a very superficial effect on the surface of the part.
Tumbling, also known as screening, is an effective solution for post-processing small parts. The technology involves placing a 3D print in a drum along with small pieces of ceramic, plastic or metal. The drum then rotates or vibrates, causing the debris to rub against the printed part, removing any surface irregularities and creating a smooth surface.
Media tumbling is more powerful than sandblasting, and the surface smoothness can be adjusted depending on the type of tumbling material. For example, you can use low-grain media to create a rougher surface texture, while using high-grit chips can produce a smoother surface. Some of the most common large finishing systems can handle parts measuring 400 x 120 x 120 mm or 200 x 200 x 200 mm. In some cases, especially with MJF or SLS parts, the assembly can be tumble polished with a carrier.
While all of the above smoothing methods are based on physical processes, steam smoothing relies on a chemical reaction between the printed material and steam to produce a smooth surface. Specifically, steam smoothing involves exposing the 3D print to an evaporating solvent (such as FA 326) in a sealed processing chamber. The steam adheres to the surface of the print and creates a controlled chemical melt, smoothing out any surface imperfections, ridges and valleys by redistributing the molten material.
Steam smoothing is also known to give the surface a more polished and glossy finish. Typically, the steam smoothing process is more expensive than physical smoothing, but is preferred due to its superior smoothness and glossy finish. Vapor Smoothing is compatible with most polymers and elastomeric 3D printing materials.
Coloring as an additional post-processing step is a great way to enhance the aesthetics of your printed output. Although 3D printing materials (especially FDM filaments) come in a variety of color options, toning as a post-process allows you to use materials and printing processes that meet product specifications and achieve the correct color match for a given material. product. Here are the two most common coloring methods for 3D printing.
Spray painting is a popular method that involves using an aerosol sprayer to apply a layer of paint to a 3D print. By pausing 3D printing, you can spray paint evenly over the part, covering its entire surface. (Paint can also be applied selectively using masking techniques.) This method is common for both 3D printed and machined parts and is relatively inexpensive. However, it has one major drawback: since the ink is applied very thinly, if the printed part is scratched or worn, the original color of the printed material will become visible. The following shading process solves this problem.
Unlike spray painting or brushing, the ink in 3D printing penetrates beneath the surface. This has several advantages. First, if the 3D print becomes worn or scratched, its vibrant colors will remain intact. The stain also doesn’t peel off, which is what paint is known to do. Another big advantage of dyeing is that it does not affect the dimensional accuracy of the print: since the dye penetrates the surface of the model, it does not add thickness and therefore does not result in loss of detail. The specific coloring process depends on the 3D printing process and materials.
All of these finishing processes are possible when working with a manufacturing partner like Xometry, allowing you to create professional 3D prints that meet both performance and aesthetic standards.
Post time: Apr-24-2024